
TYPO3 extension for file downloads

What does it do?
PITS Download Center extension is a great tool that will allow you to search and filter media assets from large number of files based on categories and file types managed within typo3 backend. At the same time this extension is very useful for downloading files from website.
Front-end view
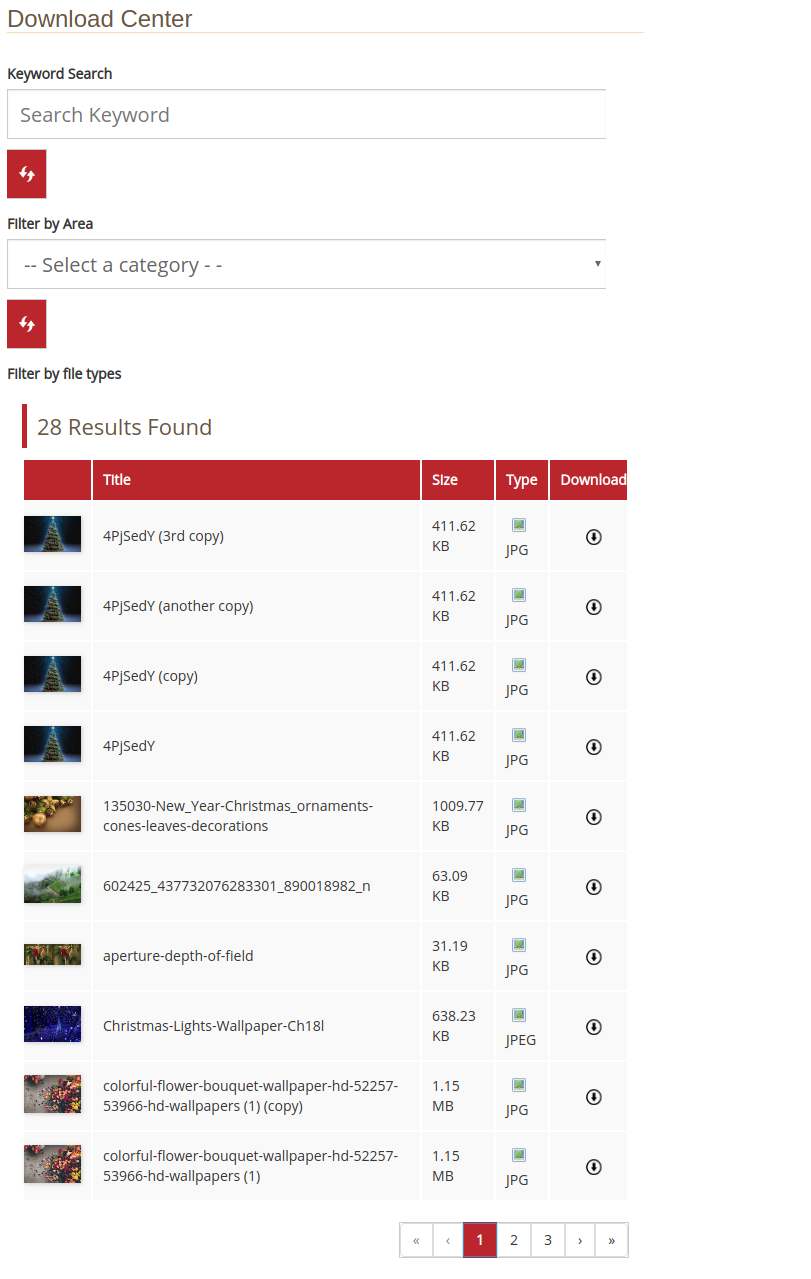
Overview of extension
|
Extension Key: |
pits_downloadcenter |
|
Extension URL: |
https://extensions.typo3.org/extension/pits_downloadcenter/ |
|
Documentation: |
https://docs.typo3.org/typo3cms/extensions/pits_downloadcenter/ |
|
Support: |
https://github.com/hojaonline/pits_downloadcenter |
|
Version: |
3.0.1 |
|
Category: |
Frontend Plugin |
|
TYPO3 version: |
(7.6.0 – 9.5.99) |
Back-end Installation and configuration
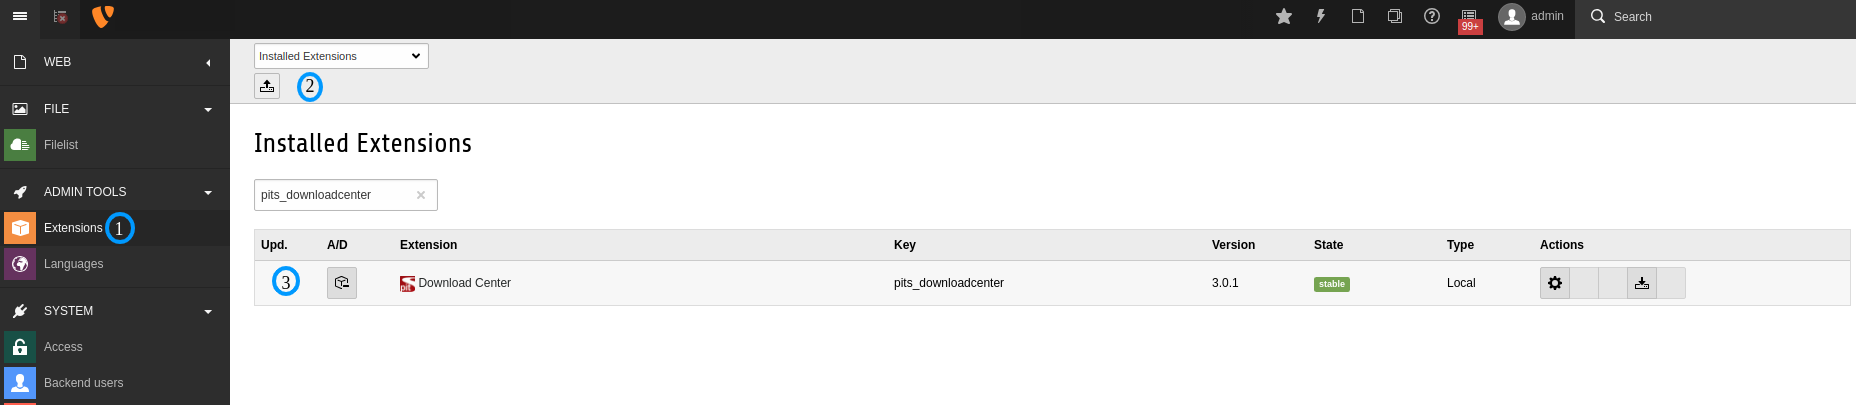
1. Get the extension
Step 1: Switch to the module “Extension Manager”.
Step 2: Get the extension- Get it from the Extension Manager: Press the “Get Extensions” button and search for the extension key ‘pits_downloadcenter’ and import the extension from the repository.
Get it from typo3.org: You can always get current version from https://extensions.typo3.org/extension/pits_downloadcenter/ by downloading either the T3X or ZIP version. Upload the file afterwards in the Extension Manager.
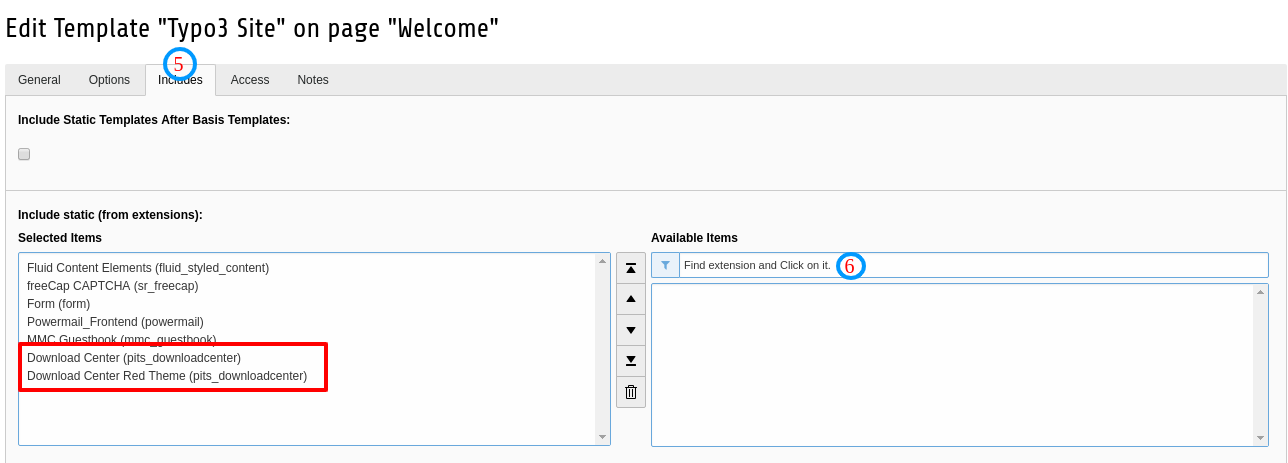
2. Activate the TypoScript
The extension ships some static TypoScript code which needs to be included.
Step 1: Go to Template Module.
Step 2: Switch to Root page.
Step 3: Select Info/Modify option from drop-down.
Step 4: Click on Edit the whole template record button.

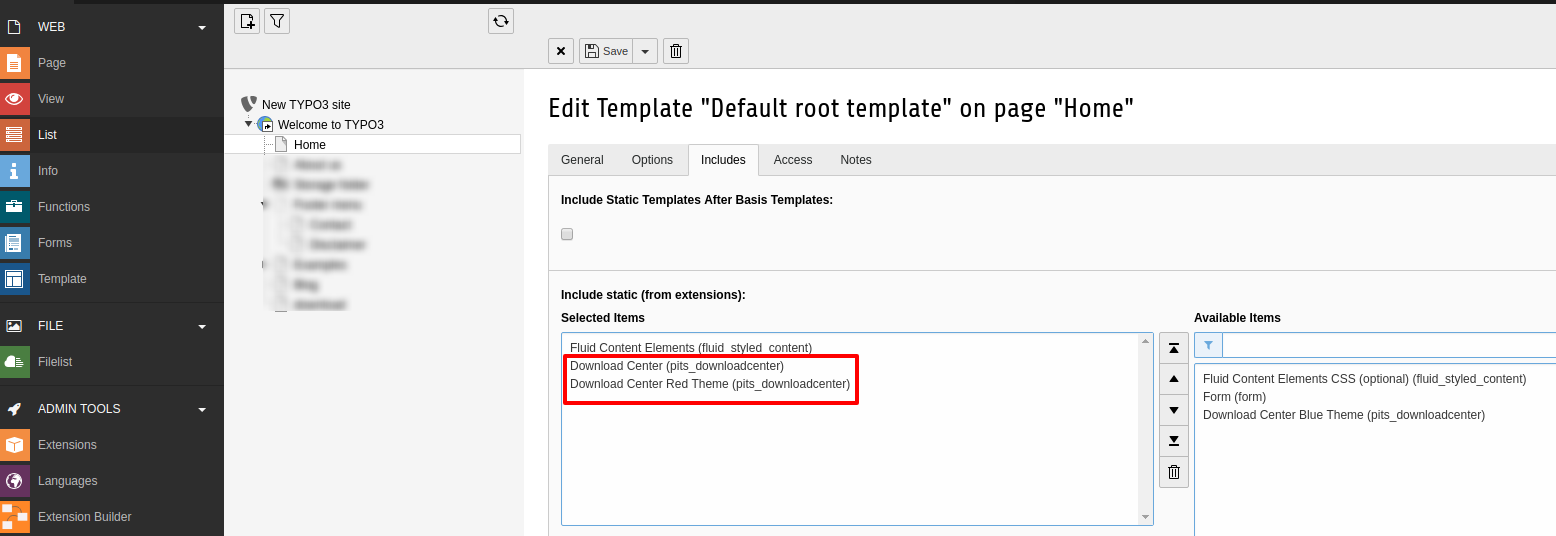
Step 5: Switch to Includes tab.
Step 6: Search for Extension and after search click on extension name.
Verify that your selected extension move to the selected items.
3. Configuration
Quick & Easy configuration of “Pits Download Center” into TYPO3
Step 1: In extension manager, configure the encryption method for the plugin and random key as defined in the following screenshot. This encryption method is required if you’re showing the links as encrypted rather than the direct link.

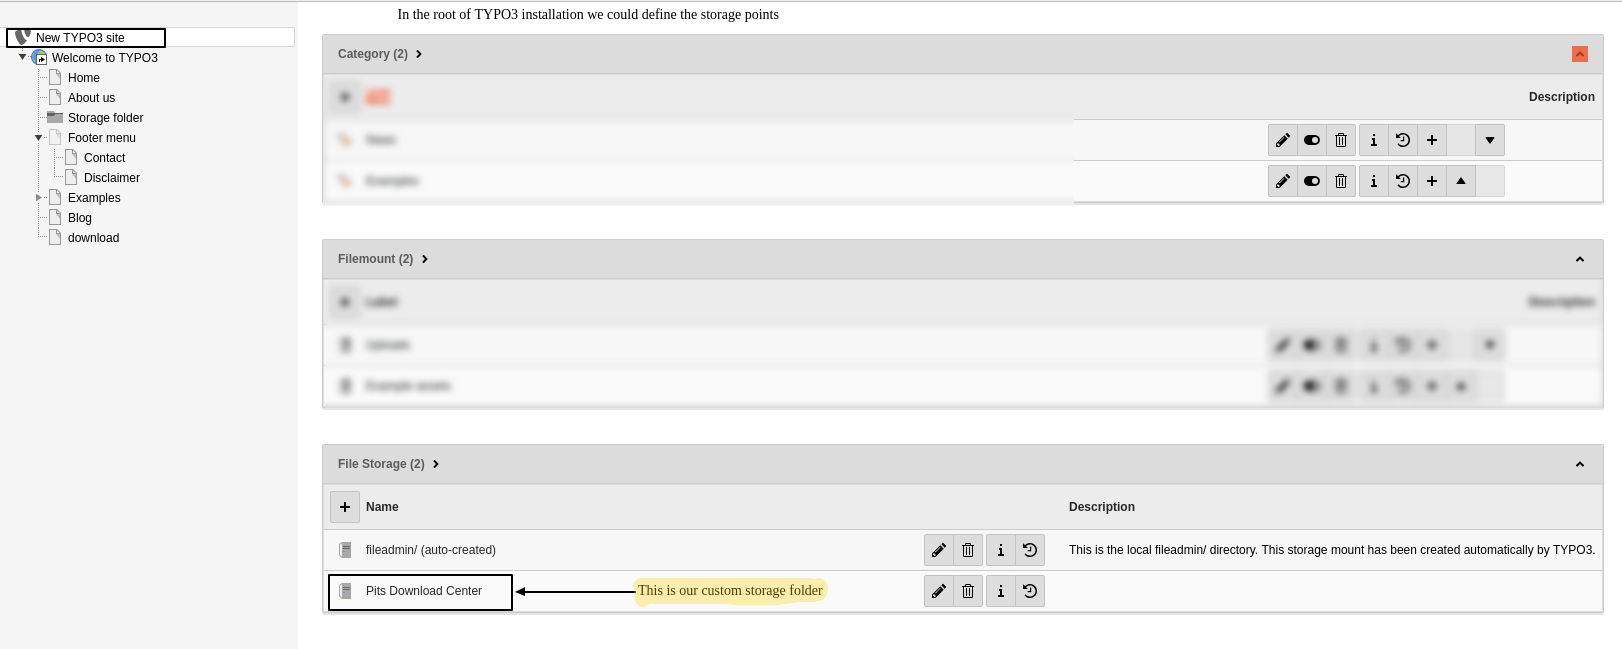
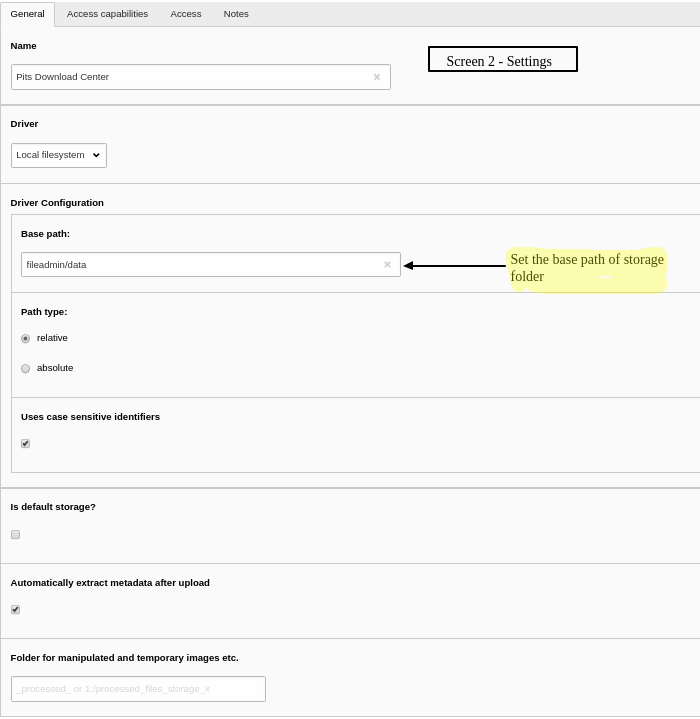
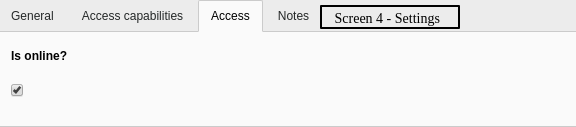
Step 2: Adding File Storage
It is important to add or define a file storage mount point. This defined file storage is where you have to specify the mount point folder of the files which has to be displayed in the front end.
Images given below describe about how to define file storage mount point, mount point folder of the files, and its permission.

Step 3: Adding Category Filters
The download manager category is not a sys_category provided by typo3. This is because an independent category relation is more preferred in this case. For this purpose, typo3 FAL has been extended with few new fields that will be made available in the download manager tab in back end when user edits a FAL asset.
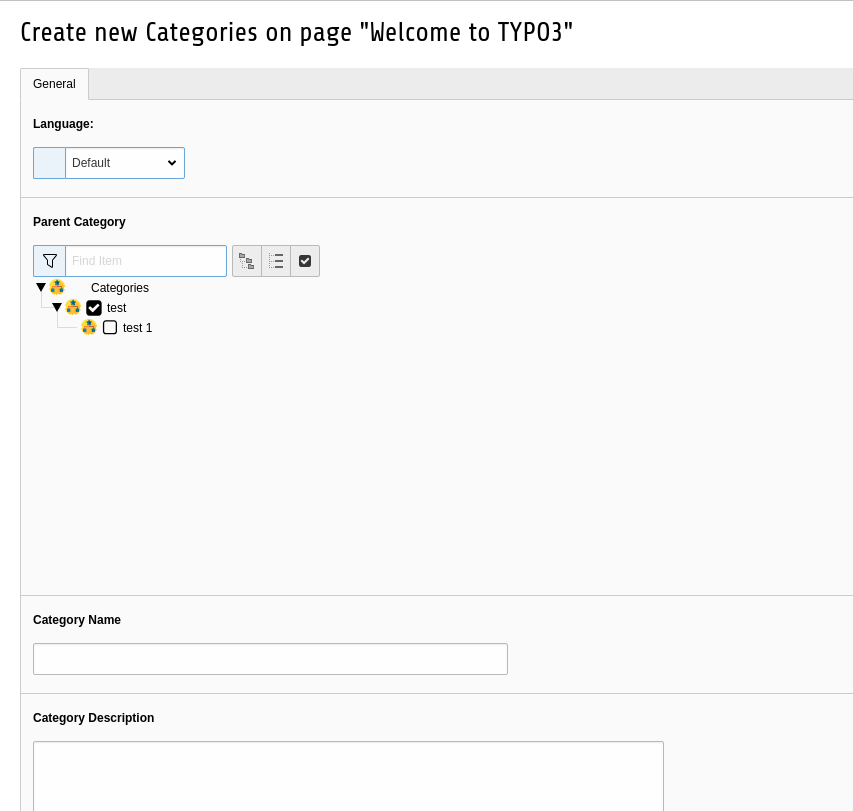
The new category type can be created in web → list view→ Download Center → Categories, where a title can be added and parent category can be selected which will be rendered as drop down filters in front end.
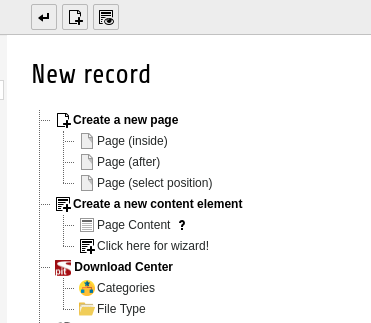
Below image describe about how to create categories.
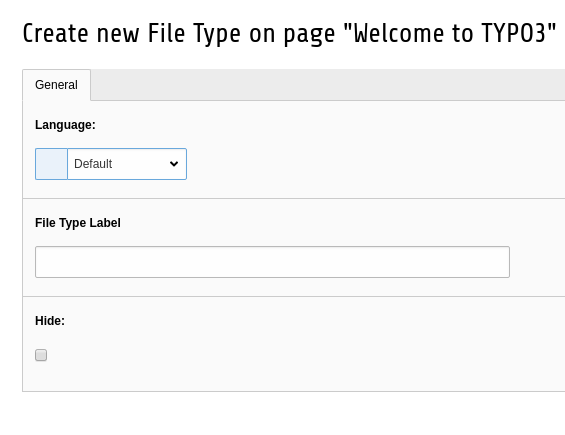
Step 4: Adding File Type Filters
The file type data can be added similar to categories through Web → List in back end. Only a title can be provided which will be available as multiple select item inside the media FAL item.
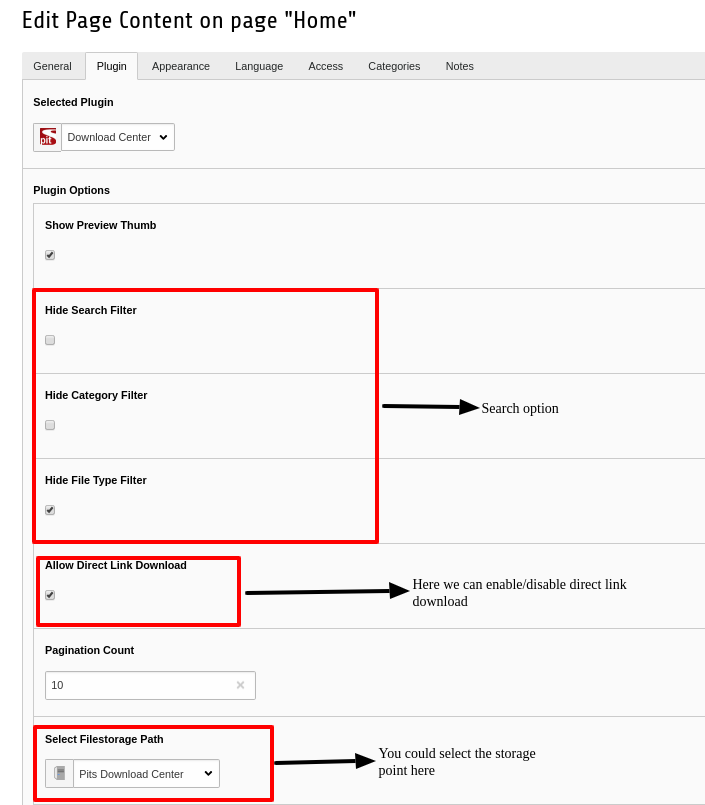
Step 5: Plugin Options
The plugin will be available in the plugin list which can be added to the page in the standard way. In plugin there are options implemented for disabling the search options from front end. So that those search criteria will not applicable for the files. Besides these some other options are also available.
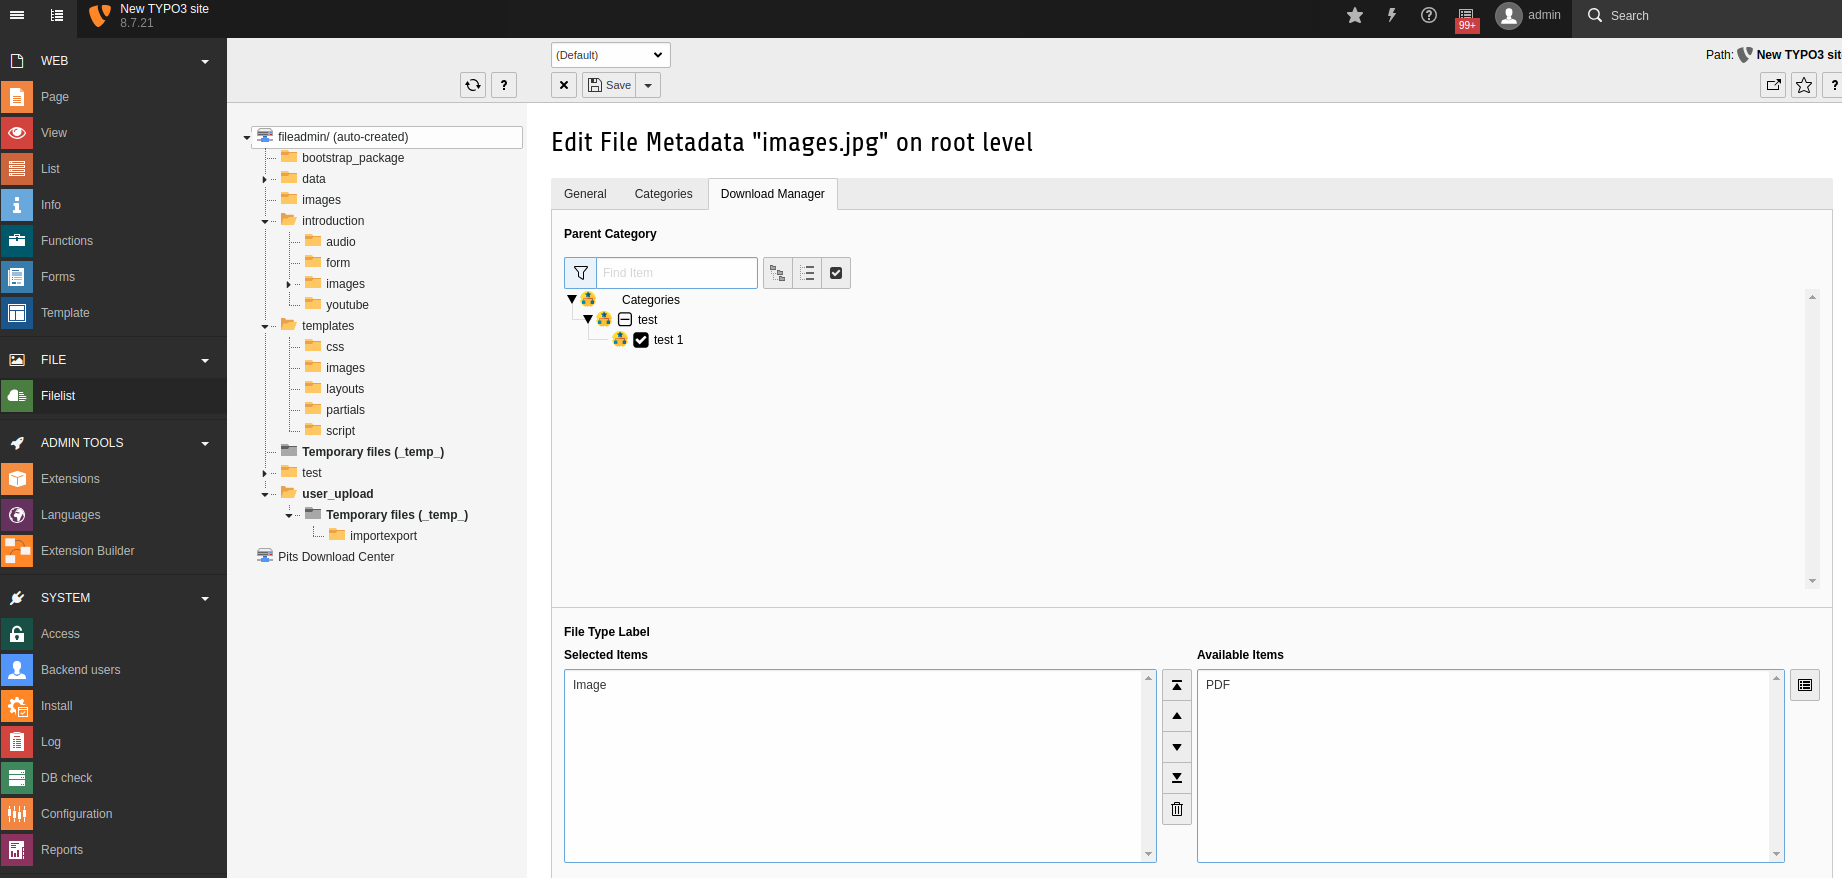
Step 6: Adding Media Asset
The FAL media item when added in back end will have a new tab “Download Manager” where user will be able to define or select the category and file type filters.
Step 7: Configuring Default Themes
Download Center Plugin shipped with two default colour schemes. Red and Blue Version. If you want to program CSS with your own scheme, you could simply override the path of this TypoScript variables with your own CSS files.
Below image describe about how to configure the theme in a page.
Step 8: Please use the buttons ‘Flush frontend caches’ and ‘Flush all caches’ from the top panel. The ‘Clear cache’ function of the install tool will also work perfectly.